


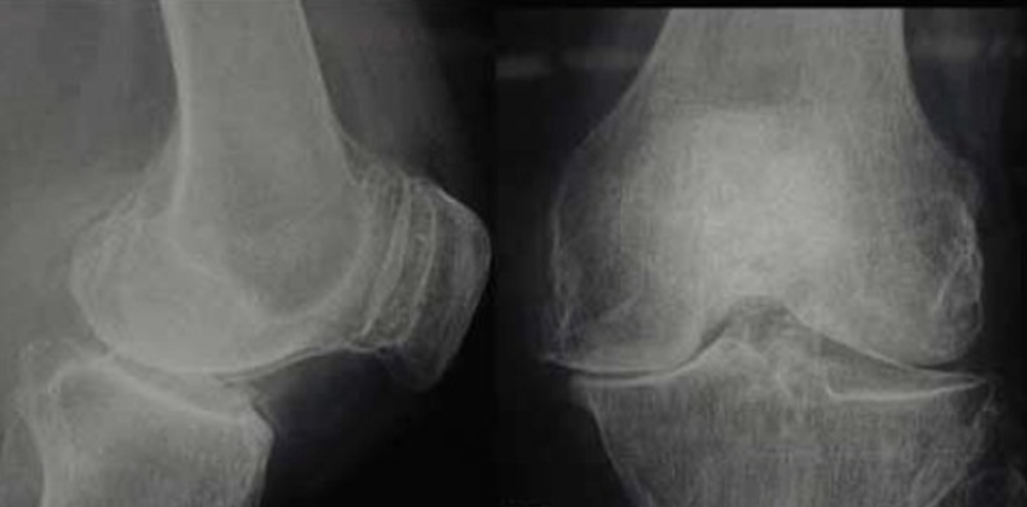
A 76-year-old woman presented with bilateral knee pain, left worse than right. Pre-operative radiographs of the left knee show severe, end-stage osteoarthritis. The radiographic hallmarks of osteoarthritis are: joint space narrowing, sclerosis of the subchondral bone, osteophyte formation and eventually cystic changes in the adjacent bone.
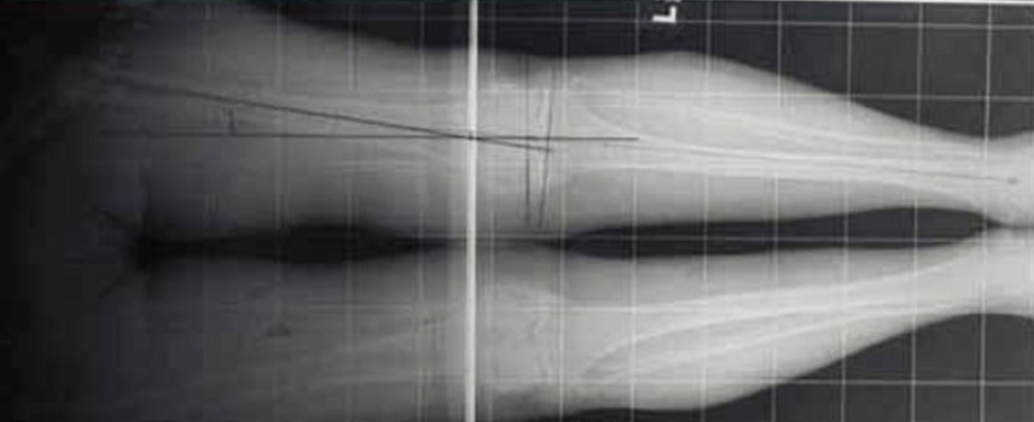
Standing "alignment views" are used to determine the patient's weight bearing and mechanical axis. The technical goals of Total Knee Arthroplasty include re-establishing the patient’s mechanical axis and restoring the joint line. Often times, patients will have developed severe "Varus" deformity (bowed legs) or less commonly, "valgus deformity (knock kneed).
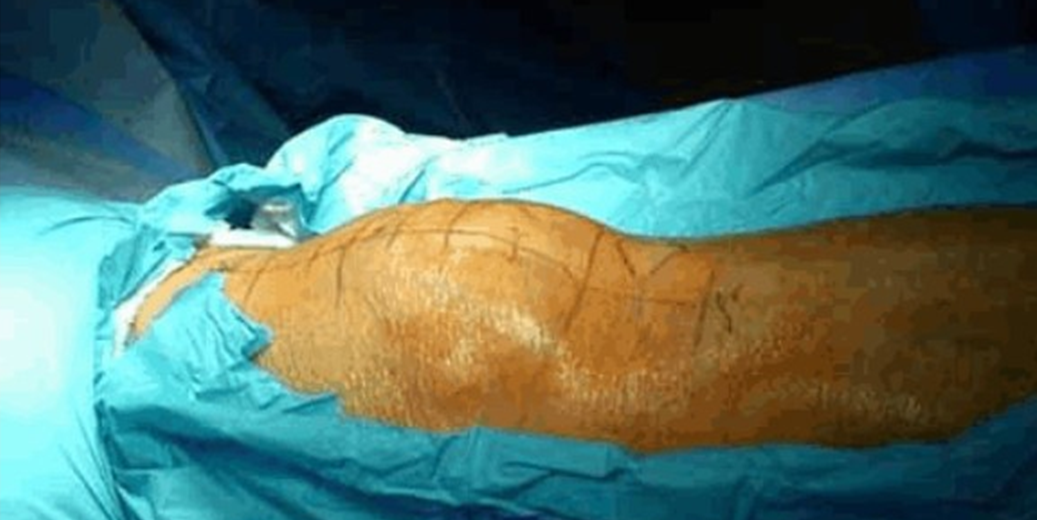
After a sterile prep, the limb is draped, landmarks are identified and the mid-line knee incision is planned unless patients have old scars which are not compatible with this standard incision.
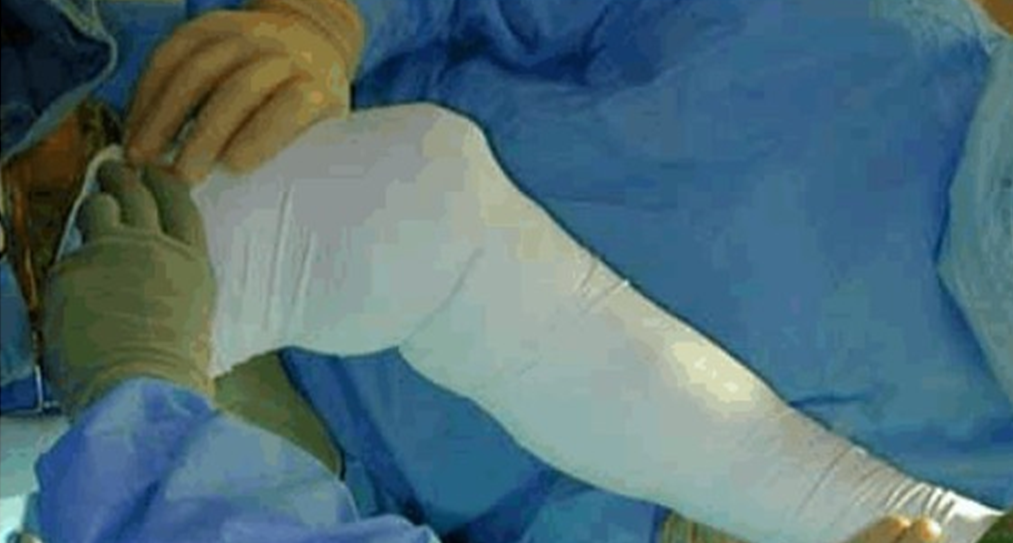
The leg is exsanguinated and a tourniquet is used to maintain hemostasis throughout the case.
Once the incision is made, the quadriceps tendon, the patella and the patellar tendon are identified. A medial para-patellar arthrotomy is made and the soft tissues are elevated from the tibia. Great care must be taken not to strip to much medially or laterally as this may result in disruption of the medial collateral ligament or the patellar tendon, respectfully. Both are disastrous complications.
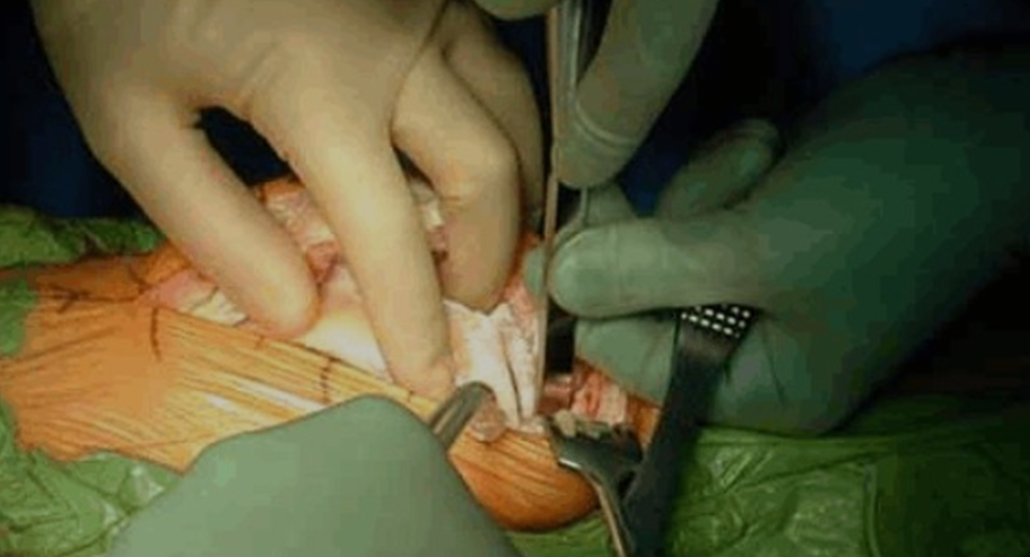
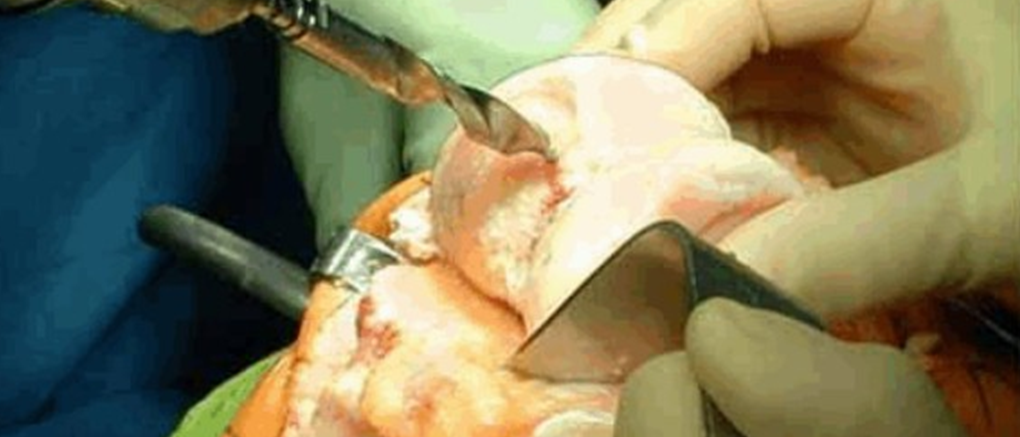
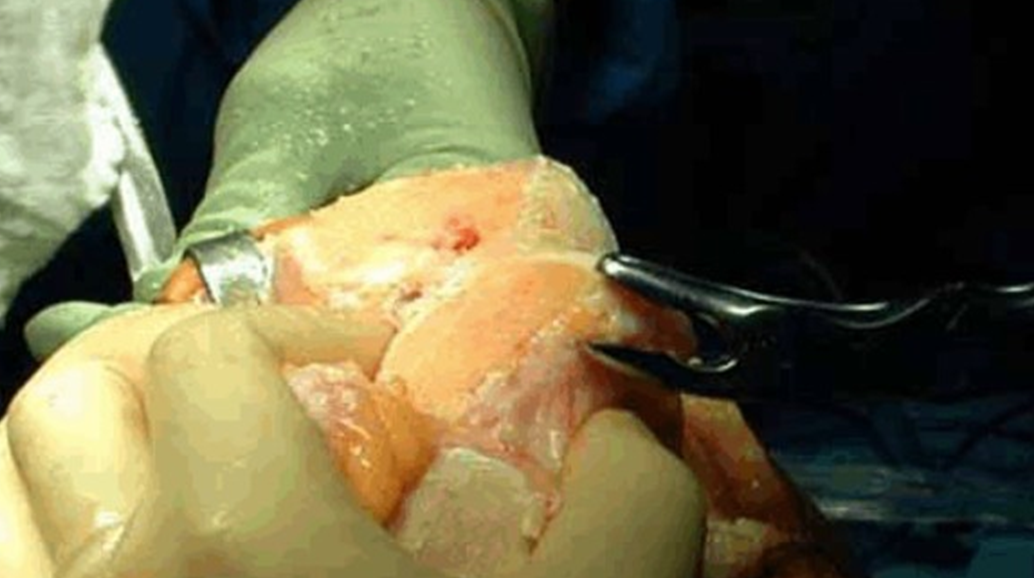
The patella and patellar tendon are released from the underlying fat pad and other soft tissues so the patella may be everted laterally to expose the distal femur and proximal tibia.
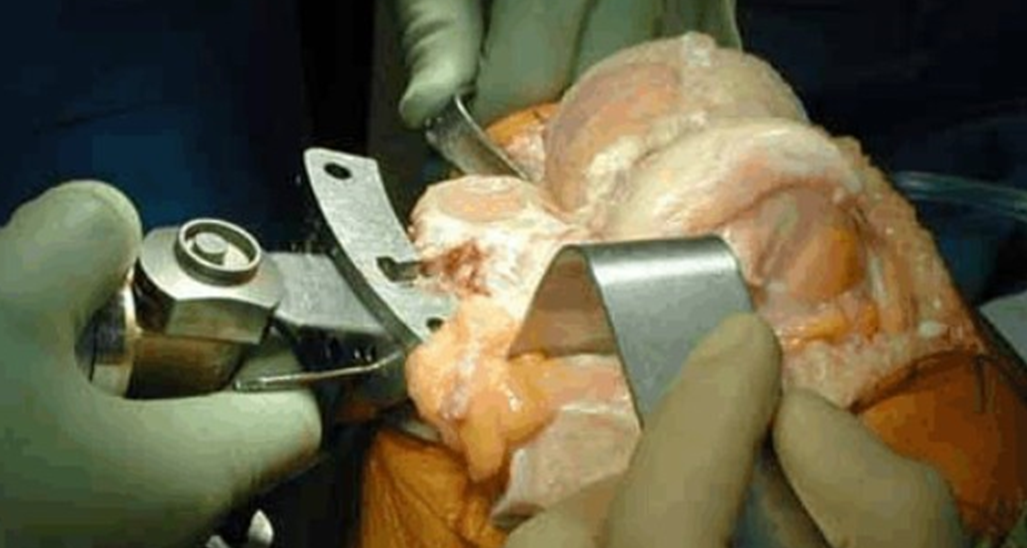
After the patella and tendon are everted (under rake in photo), remaining capsular tissues are released. The patellar-femoral ligament above the clamp is about to be divided.
Only a single cut is made to prepare the tibia. An extramedullary alignment guide is placed and secured with pins in the proximal tibia. This guide is used to resect the proper amount of bone and create the proper surface angulation for the new tibial joint line.

Several pins are placed to secure the guide.
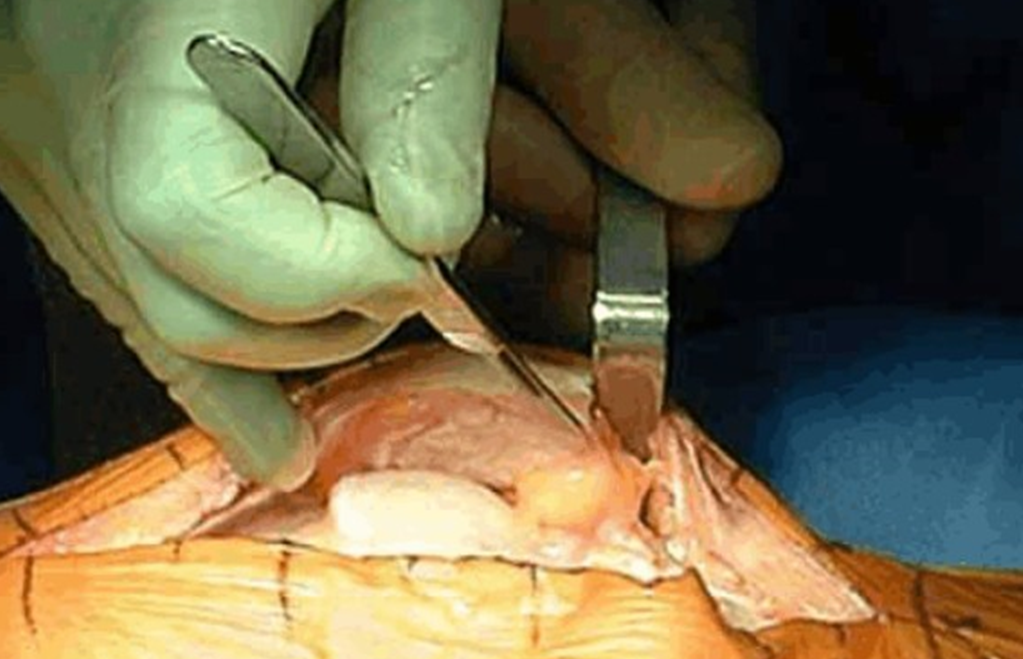
Once the guide is secure, the arthritic articulating surface of the tibia is resected using an oscillating saw.
After the cut is made with the oscillating saw, the section of tibia is removed.
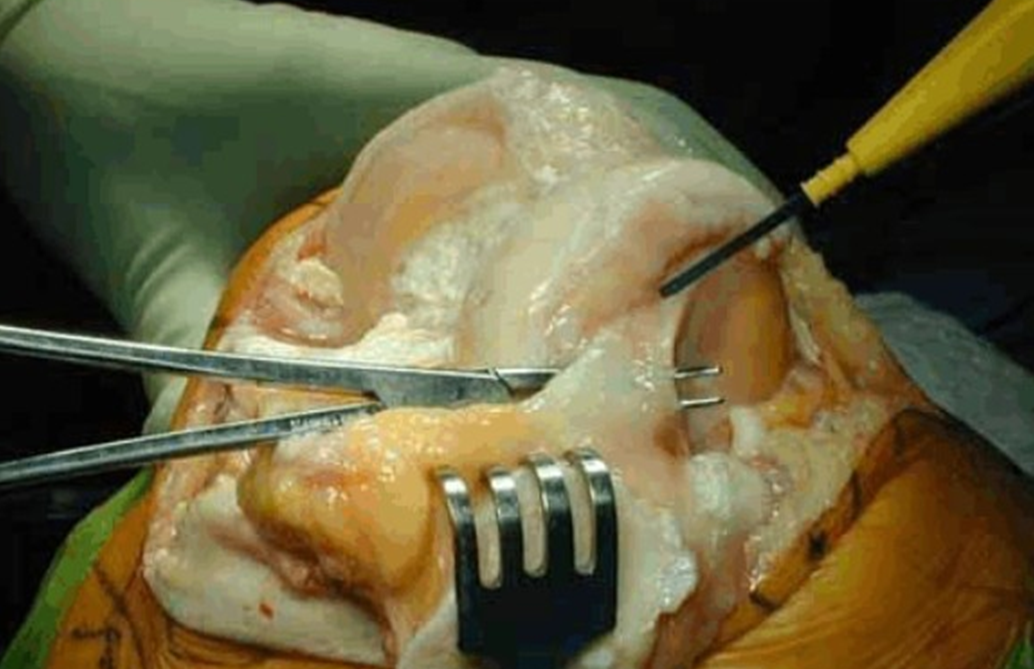
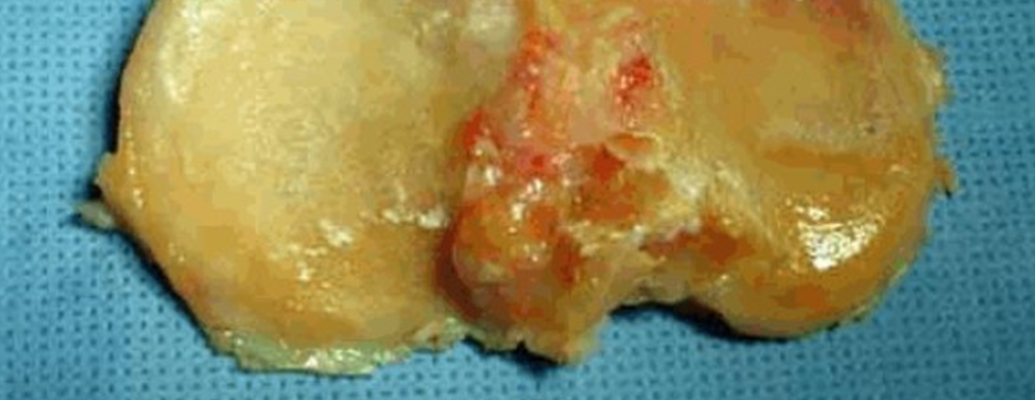
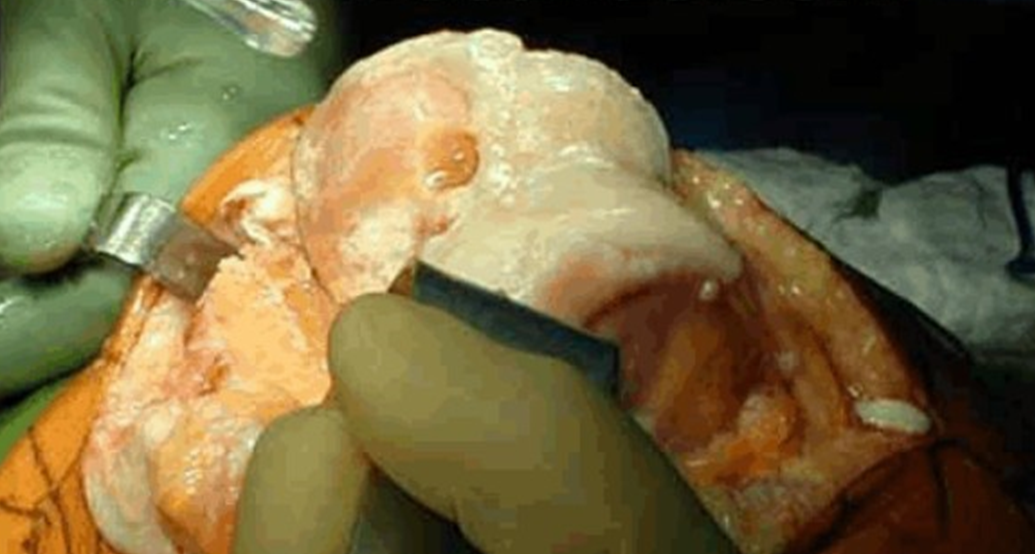
The resected arthritic articular surface of proximal tibia is shown.
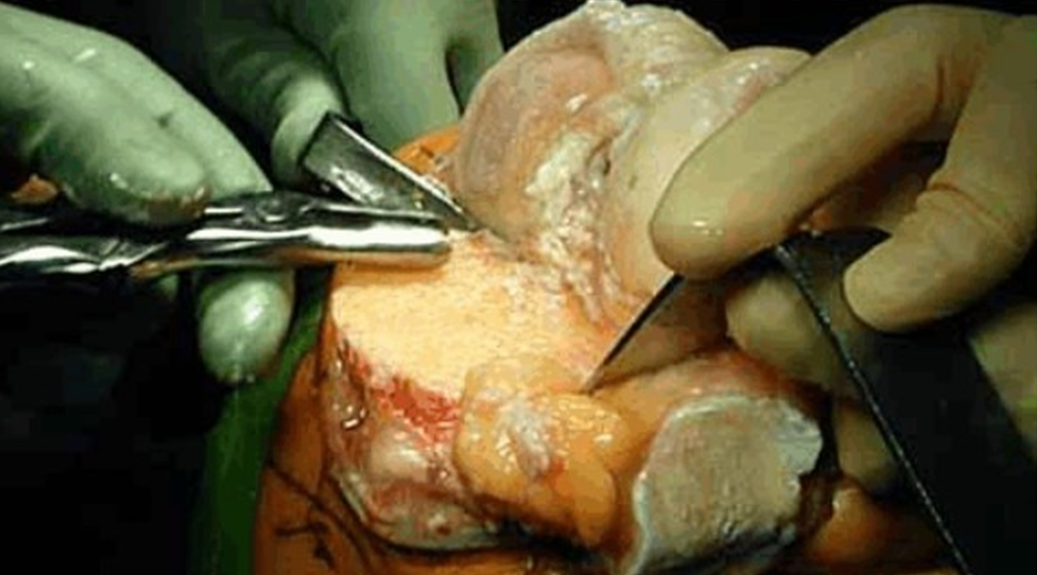
After the tibial bone is resected, edges and any remaining bone are removed.
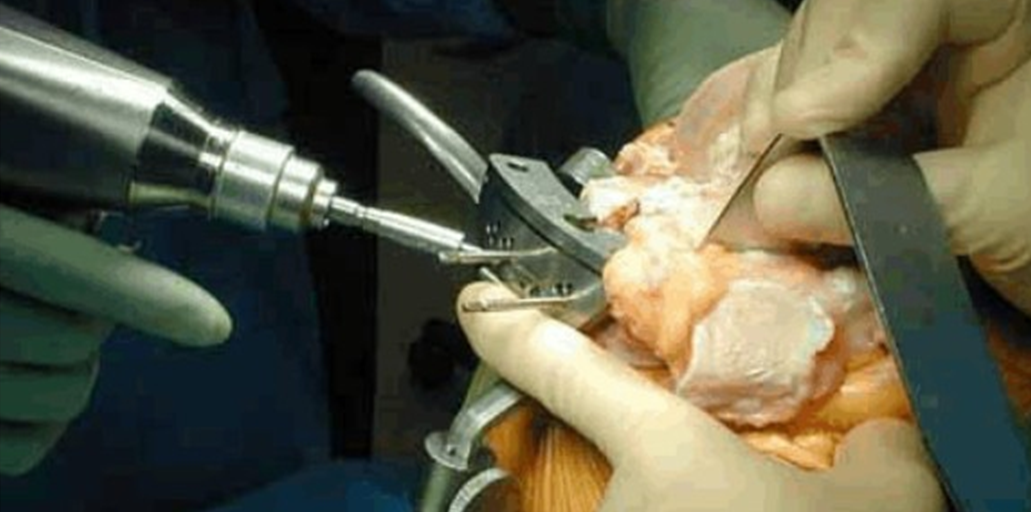
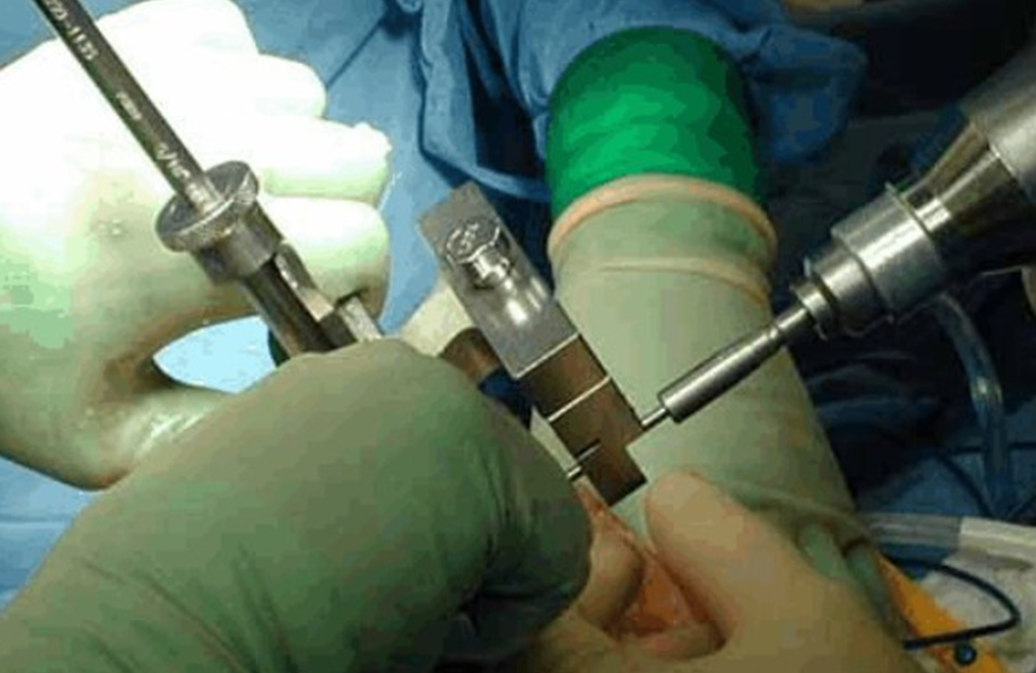
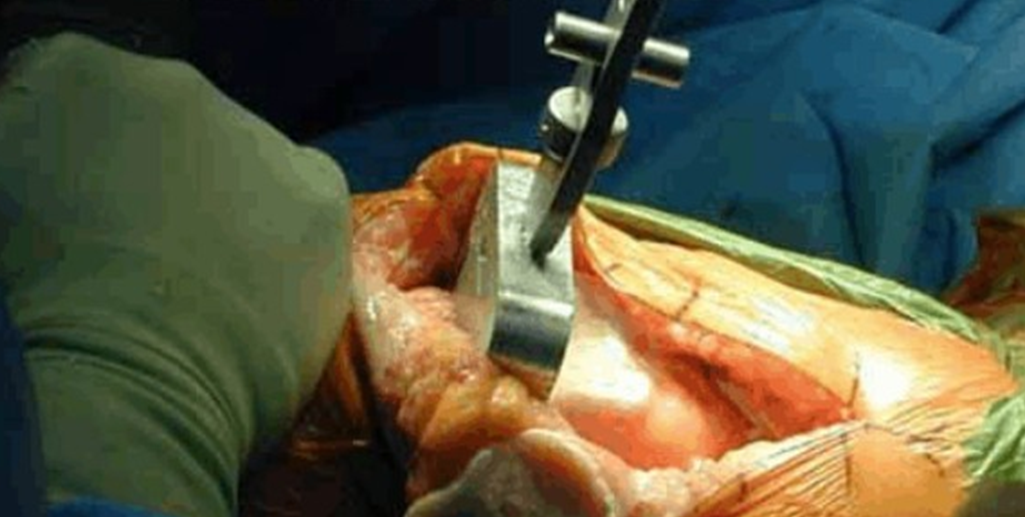
Unlike the tibia, an intra-medullary guide is used to make the resection cuts on the femur. A hole is reamed from distal to proximal in the femur so the guide may be placed.
The femoral guide hole is shown.
The placement of the intra-medullary guide with cutting block is shown.

Once the alignment and rotation of the cutting block are determined, the block is secured into place with pins.
In contrast to the tibia, a series of cuts are made to prepare the distal aspect of the femur. The first and most important is the distal femoral cut. This will be used to determine soft tissue
balancing and proper positioning of the replacement components.
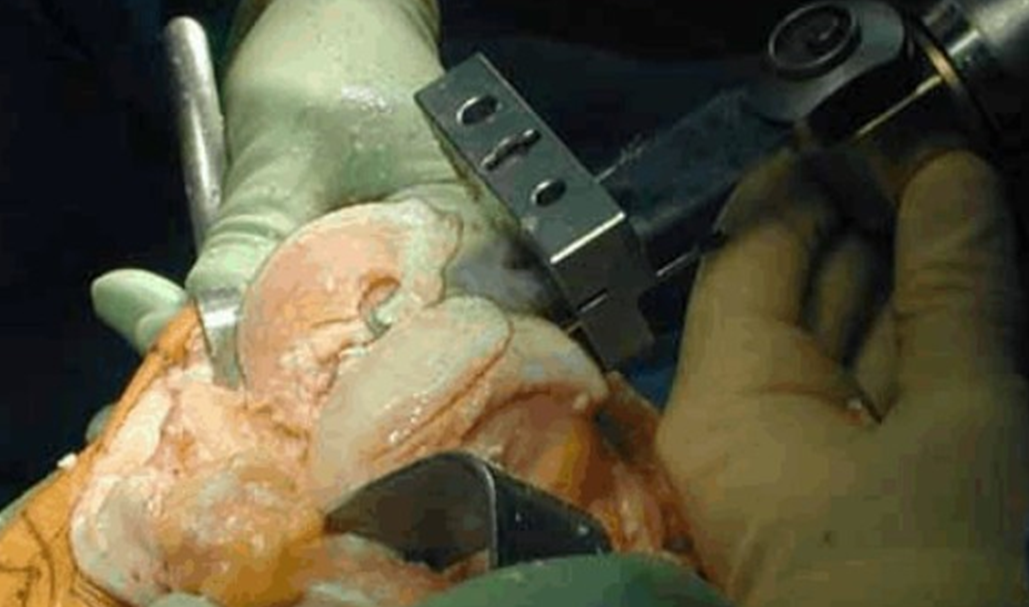
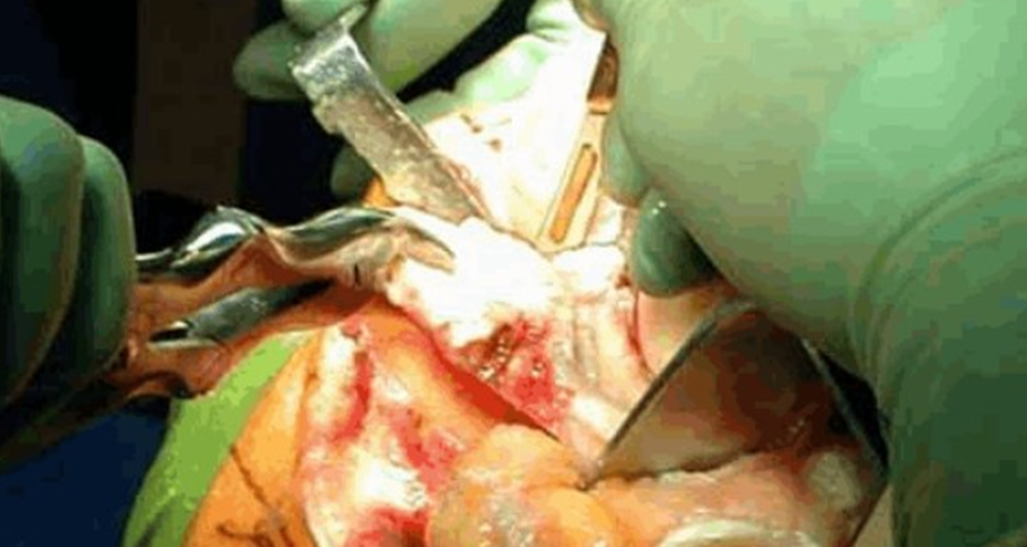
Osteophytes are resected after the distal cut is completed.
The knee is then extended and a "spacer block" is positioned to check the accuracy of the proximal tibia and distal femoral cuts. These cuts ultimately determine the position of the knee replacement components, the adequacy of the soft tissue balancing and the overall success of the arthroplasty.
A tensioning device is used to determine if adjustments are required.


